Teamoji #9 Entering Firebase
Today we keep going with Teamoji. In this post we are starting to use Firebase for the authentication and database.
Hold on a sec!
Before I go into detail about integrating Firebase into Teamoji, for those of you who have been following this series since the beginning, I have made some drastic changes to the front end. Now there’s no routing in the app, on other words Teamoji is not a SPA(Single Page Application). This choice is made because I felt that using a SPA structure is easier for understanding the codebase. We will start with this SPA with no Firebase. You can find the starting code here.
Firebase Overview

Firebase is Google’s BaaS(Backend as a Service), now with many development and growth tools readily available for developers. The main features of Firebase include:
- Authentication
- Real-time database
- Cloud storage
- Cloud functions
- Analytics
- etc.
In the current version of Teamoji, we will only use the authentication and database module. In the future all other main features mentioned can be integrated in as well.
In this post we will implement the authentication of Firebase, and in the next post the database will be added.
Firebase setup
First of all, you must create a Firebase “project”, which holds all the configurations and the data of your application. Go to Firebase console and create a project following the instructions.
Once you have done that, the firebase module and firebase library should be added into the Angular Dart project. This is already done for you in the starter code.
One last configuration needed is in the “Authentication” tab once you have created the project. Under “Sign-in Method”, you must enable Google sign in, for it to be used in Teamoji.
Firebase Service
Before we start building the frontend interactions, a FirebaseService should be added. It would be possible, of course, to use Firebase libraries directly in each component, but it would obviously be better to extract them into a custom service. Also, remember that ultimately we want to use Firebase with Flutter as well, and a ready-to-use service would be very handy.
On the “project overview” page of the Firebase console, a code snippet of how to initialize the firebase app can be found. We will use this in our setup.
/// firebase_service.dart

import 'dart:async';
import 'package:angular/core.dart';
import 'package:firebase/firebase.dart' as fb;
import 'secret.dart' as secret;

@Injectable()
class FirebaseService {
  FirebaseService() {
    secret.init();
  }
}
Here the code snippet is in secret.init(), which is not tracked on github to protect the API key. Simply add your own init code snippet in and it would be fine.
Now that we have this service, it should be added into the provider list for the application, so that DI knows to inject it into components. d
/// main.dart

void main() {
  FirebaseService service = new FirebaseService();
  bootstrap(AppComponent, [
    service
  ]);
}
Sign in and sign out
First let’s work out the easy bits. Firebase has excellent docs on how to implement authentication and other modules. I will only go over the gist.
Essentially, because Firebase offers so many authentication methods, when one wants to use the sign in method, one must specify which “provider” it is. As mentioned before, we will use Google sign in. The provider can be generated when the service is constructed, since we will most definitely need it. We would also need the auth object from Firebase, which has the sign in and sign out method.
/// firebase_service.dart
@Injectable()
class FirebaseService {
  fb.Auth fbAuth;
  fb.GoogleAuthProvider _fbGoogleAuthProvider;

  FirebaseService() {
    secret.init();

    _fbGoogleAuthProvider = new fb.GoogleAuthProvider();
    fbAuth = fb.auth();
  }
}
After setting this up, the signIn() and signOut() methods can be implemented by following the docs:
/// firebase_service.dart

Future signIn() async {
    try {
      await fbAuth.signInWithPopup(_fbGoogleAuthProvider);
    } catch (error) {
      print("$runtimeType::login() -- $error");
    }
  }

signOut() async => await fbAuth.signOut();
Now let’s wire it up to the application, and test if it works.
/// welcome_page.dart

class WelcomePageComponent extends WelcomePageMessages {
  final StreamController<String> stream = new StreamController.broadcast();
  final FirebaseService service;

  WelcomePageComponent(this.service);

  @Output()
  Stream get onPageChange => stream.stream;

  Future<Null> login() async {
    await service.signIn();
    if (service.fbAuth.currentUser != null) stream.add('homepage');
  }
}
First inject the service in the constructor. When the button is pressed, await on the service to sign in. After that, simply double check if there’s a current user. If so, change the showing page to the homepage.
Conversely, in the homepage signOut method, the implementation is similar.
// homepage.dart

class HomepageComponent extends HomepageMessages implements OnInit {

  // ...

  final FirebaseService service;

  HomepageComponent(this.service);

  Future onSignOut() async {
    await service.signOut();
    stream.add('welcome');
  }

  // ...
}
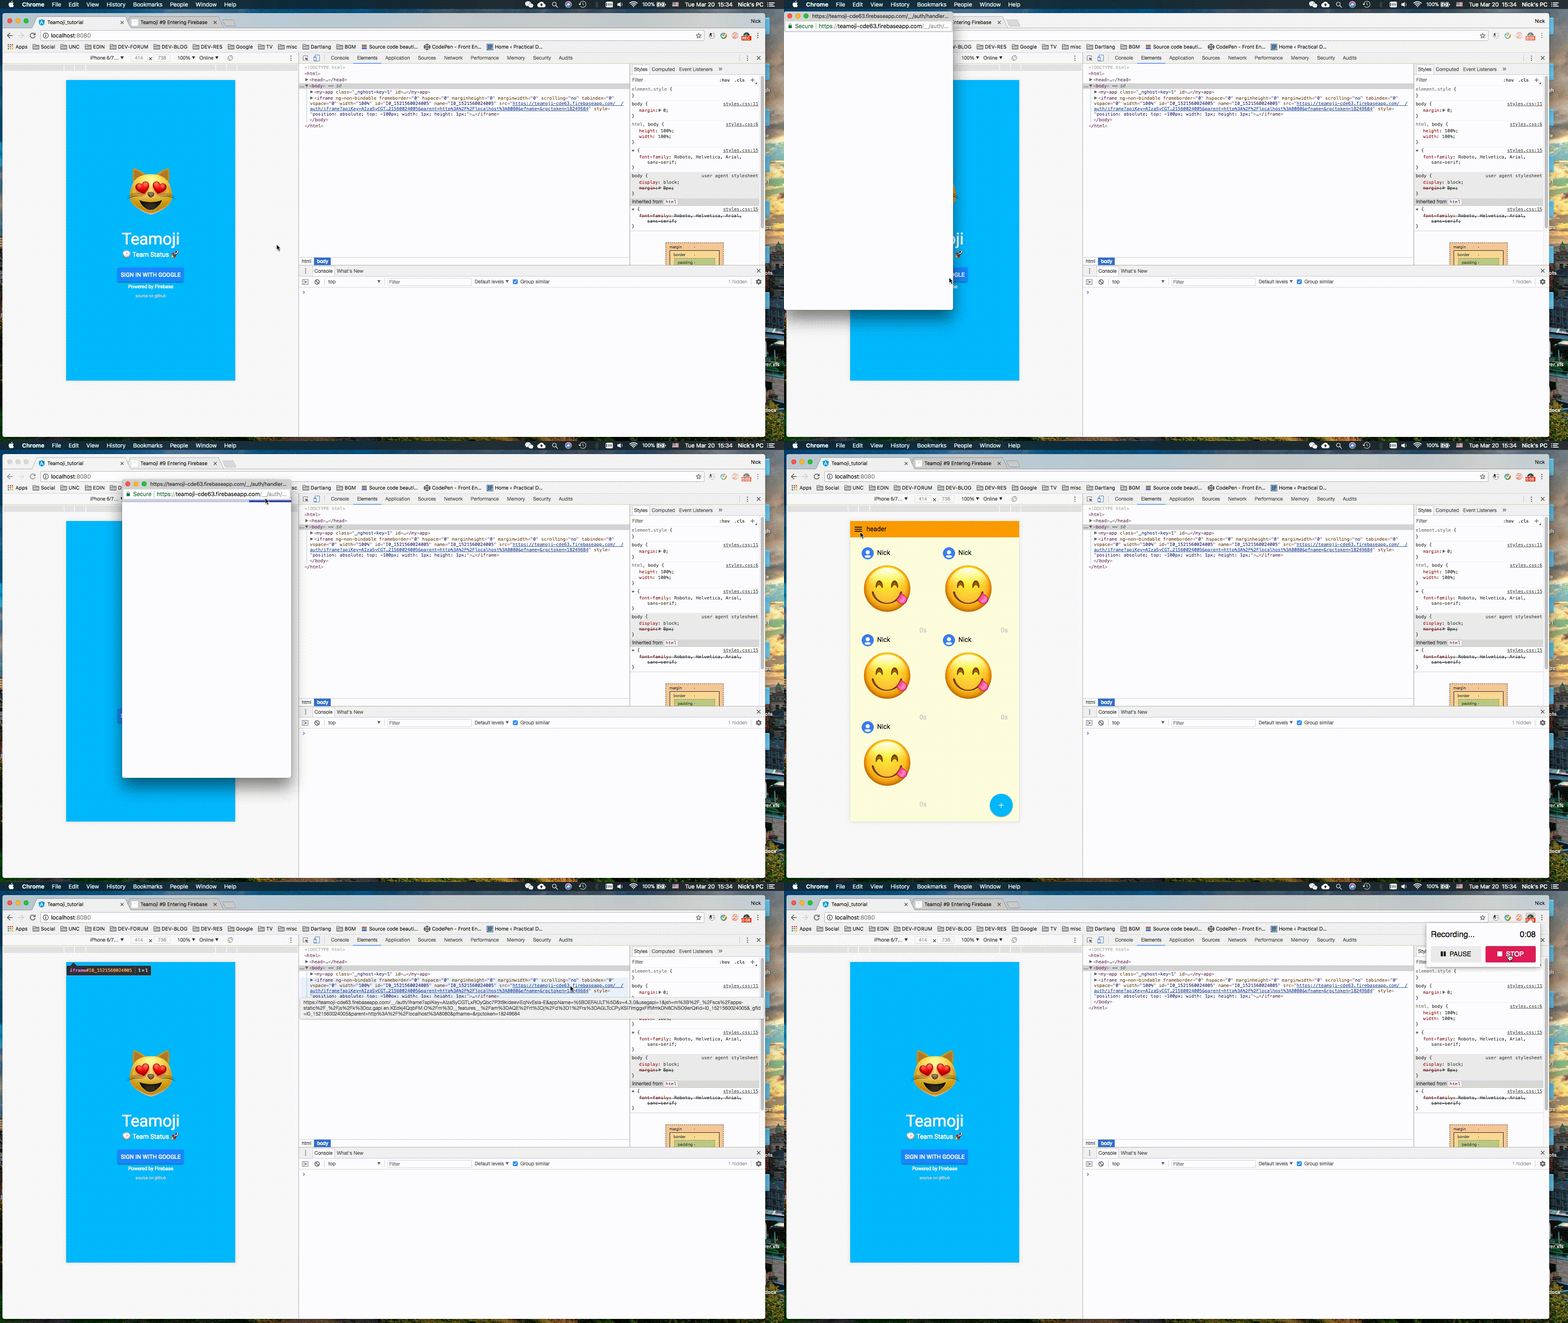
After implementing this, the sign in/ sign out flow should be complete.
 Works! Woohoo!
Persist authentication status
Now that we have the sign in and sign out flow, it is worth reminding ourselves that users wouldn’t want to sign in every time they refresh the page, or if they just signed in an hour ago. We would want some mechanisms that preserves the user sign in status.
Fortunately, firebase offers an event when a user’s authentication state changes. We can register a callback to this event stream, and check if there’s a new user after the state change.
/// app_component.dart

class AppComponent implements OnInit {
  String currentPage = 'welcome';

  FirebaseService service;

  AppComponent(this.service);

  void onPageChange(String nextPage) => currentPage = nextPage;

  @override
  ngOnInit() {
    service.fbAuth.onAuthStateChanged.listen((user) {
      if (user != null) {
        currentPage = 'homepage';
      }
    });
   }
}
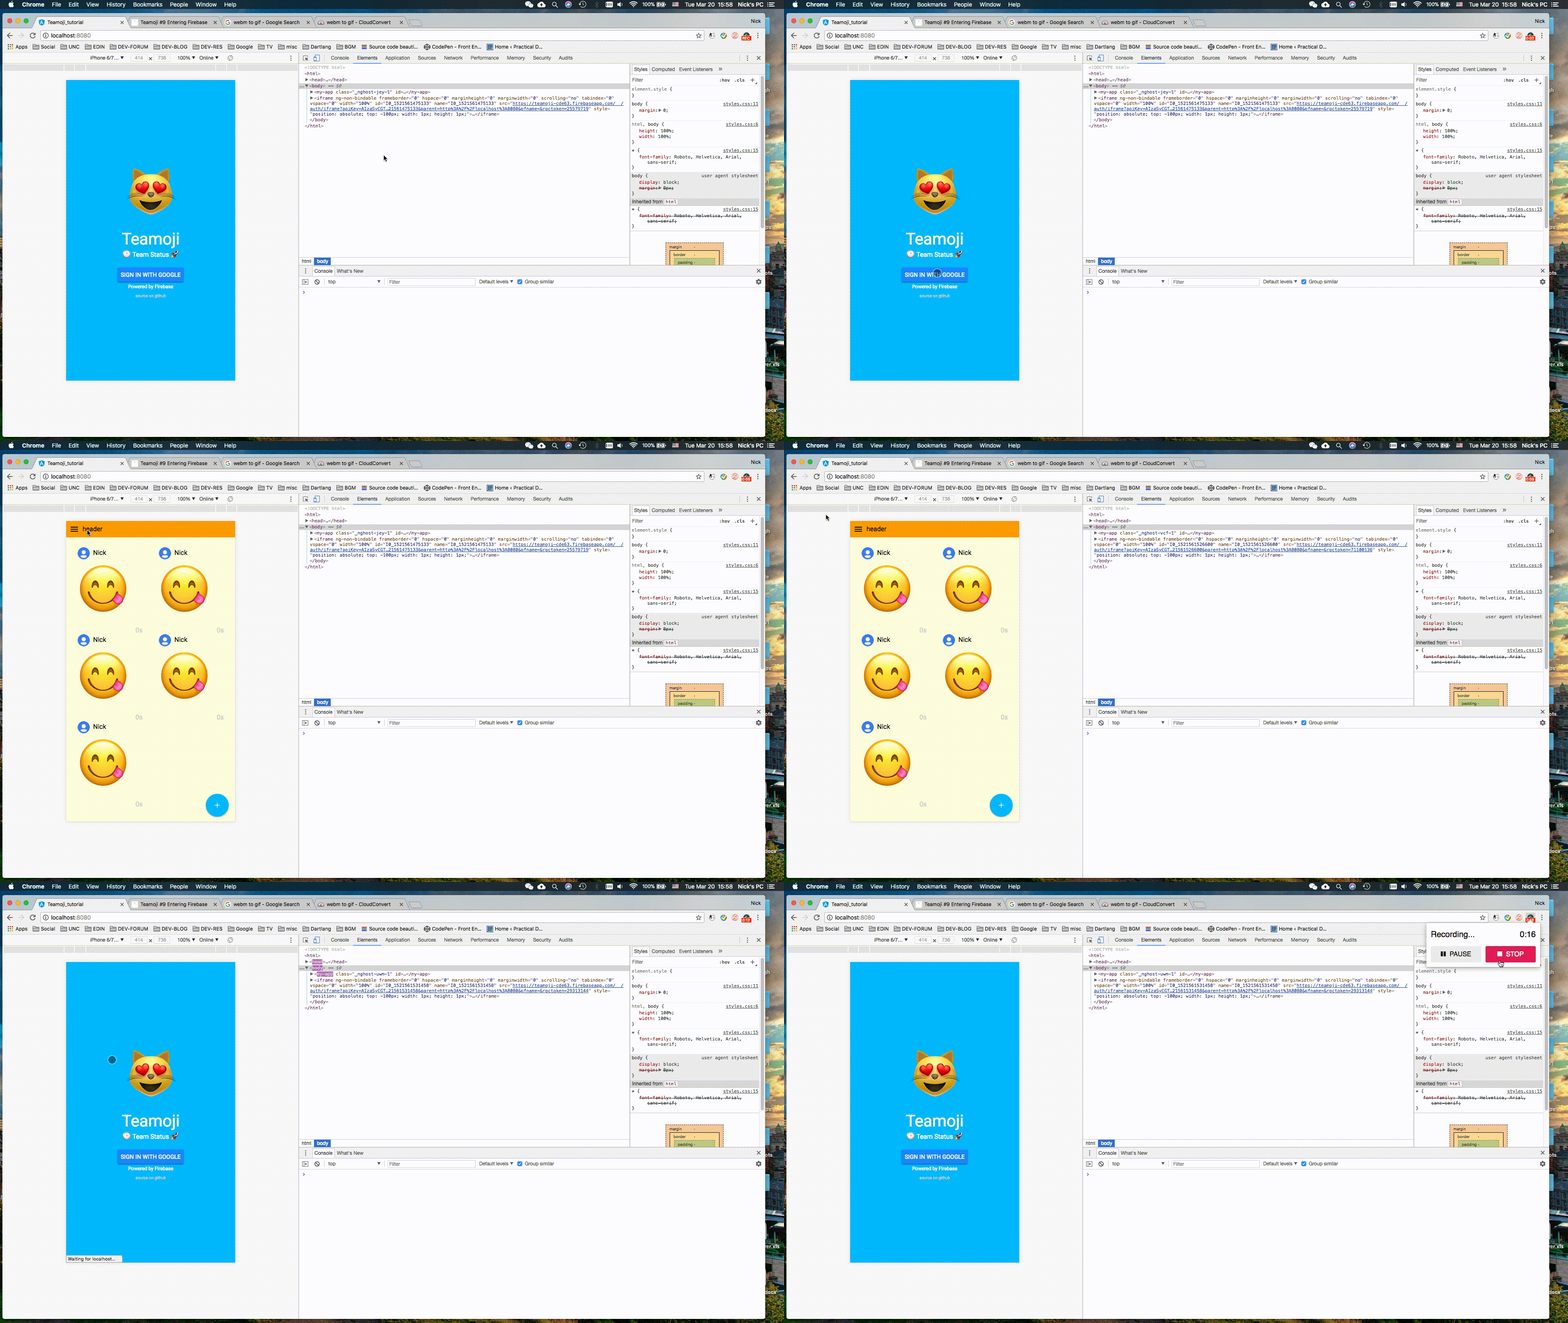
With this extra logic added, the landing flow becomes something like this:
 No need to sign in upon refresh!
You will see that upon refresh, the authentication has not quite been updated yet, so the welcome page is shown. However, it is soon updated to reflect the user is actually signed in. Therefore the app loads the homepage. In addition, after signing out, a refresh would no longer redirect the user to homepage, which is exactly what we wanted.
Conclusion
You can find the completed code up to this point here. Firebase has proven to be extremely easy to get started and use. It should be able to do more than needed for Teamoji. In the next post we will explore the Firebase real-time database, and finish the Teamoji project. As usual, if you run into anything weird, let me know in the comments below, or hit me up on twitter.
Happy coding! Nick